NO3M

Amateur Radio

Category: Projects (page 3 of 7)

1934 Superhet Receiver #5

Chassis – Cans, Shielding, etc.

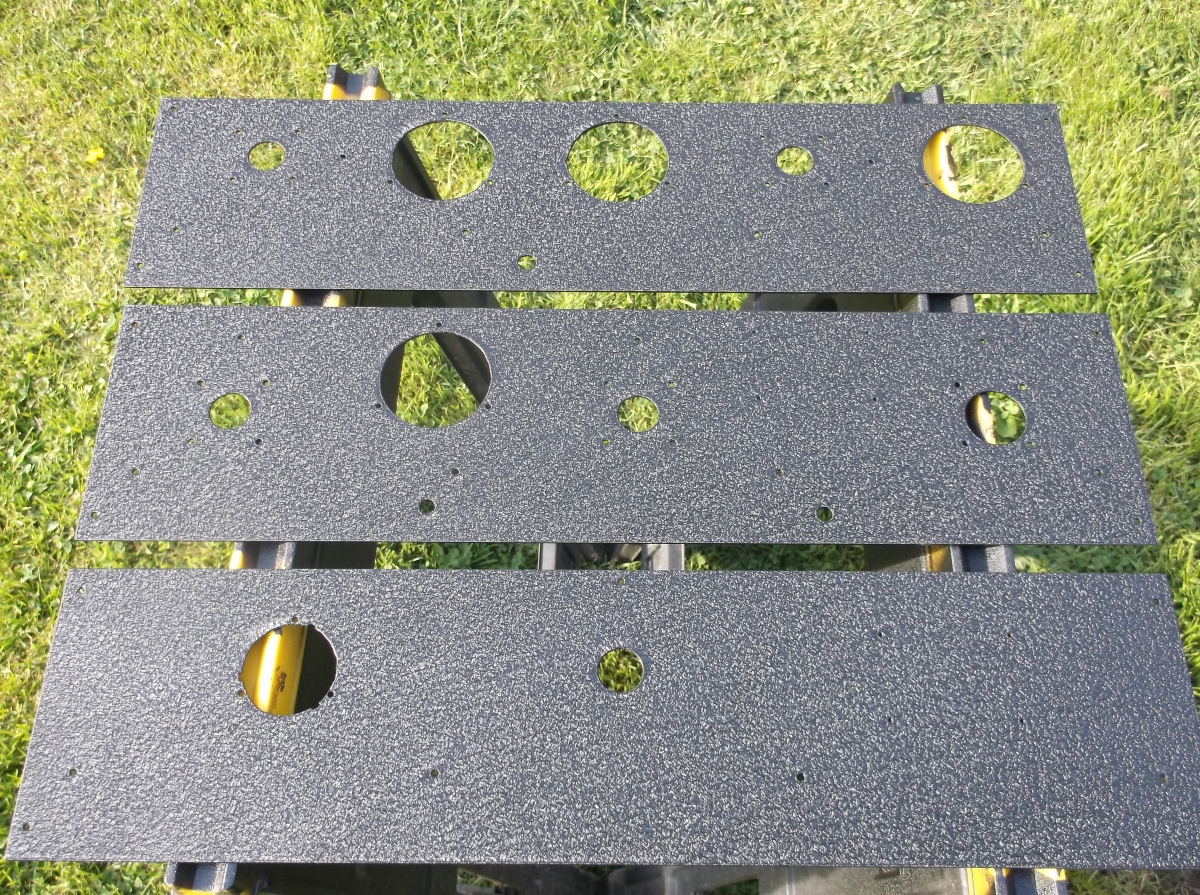
I acquired some sheet aluminum panels cut to size from a local welding shop for RF shielding, two(2) pieces measuring 5×4.5 in. have a 1/2 in. lip at one end, bent at a right angle, to attach to a larger 14×4.5 in. panel that runs along the middle of the chassis behind the RF stages.  While I contemplated using a lighter steel material, the heavier aluminum will help to stiffen the chassis a bit.

I started painting these panels, one side at a time on consecutive days.  The pieces were lying flat atop small pieces of wood on a covered table on the backyard porch.  However, I discovered an unforeseen problem when gathering the pieces to bring into the house before dark on the second day:

paint-striping

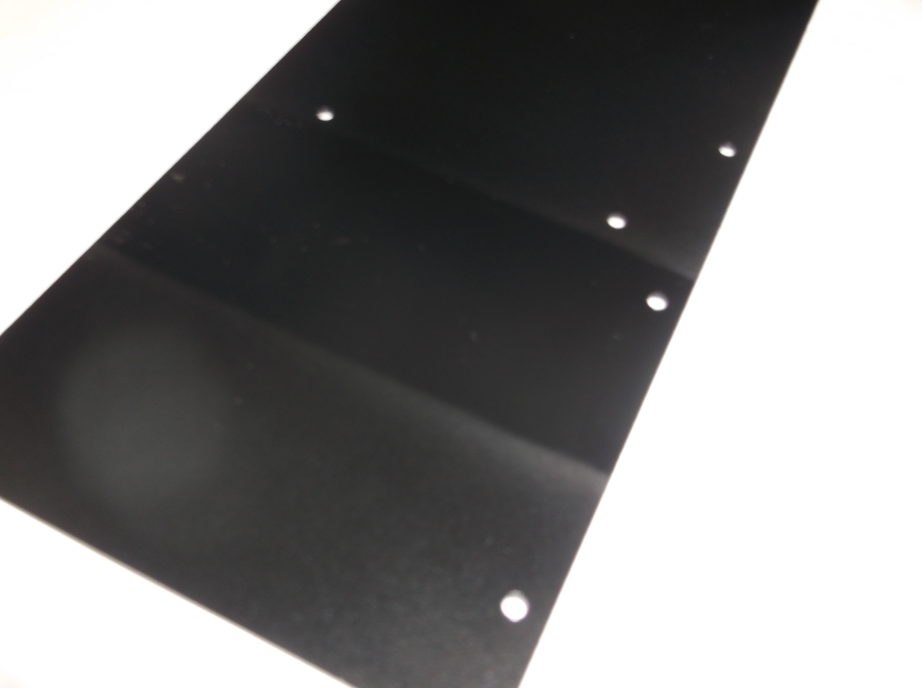
The mist created by the paint stream had coated the underside that was previously painted, causing a milkish appearance where the panel was not setting on blocks.  Continue reading …..

1934 Superhet Receiver #4

Chassis – Mount Tube Sockets / Variable Caps

dscf3098

Yesterday the mounting hardware arrived.  I had ordered a number of different length 6-32 zinc-plated machine screws ranging from 3/16 in. up to 5/8 in. from McMaster Carr.   While BoltDepot was cheaper for the same machine screws, McMaster had narrow 6-32 zinc-plated nuts and 6-32 Black-Oxide truss head machine screws (for the front panel) that BoltDepot did not carry.   The narrow nuts (1/4 in O.D.) work better for mounting certain parts than standard 5/16 in. O.D. nuts.  After factoring in shipping, it was more economical to just get everything from McMaster.

hardware-1

The tube sockets were mounted using 1/2 in. 6-32 screws, #6 external tooth washers, flat washers, and standard 5/16 in. O.D. nuts.  The National SW-3 Continue reading …..

1934 Superhet Receiver #3

Chassis – Prep and Paint

DSCF9001

As mentioned in Post #1, I found a nice Bud aluminum chassis (17x8x2) at a local hamfest.  I laid out and marked the positions of the tubes, transformers, RF coil sockets, crystal filter unit, etc.  However, there was not enough room to fit the 2A5/42 audio output tube (or it’s output transformer for that matter)!  I conceded to the idea that I would have to build the audio output circuit on a separate chassis.

But luck once again came to the rescue.  While visiting a local “junk” dealer to acquire some tubes and Hammarlund coil forms, I found a larger NOS Bud aluminum chassis (17x10x3) and an old receiver cabinet amongst the piles of vintage goods.  This new chassis would be more than sufficiently sized to accommodate the entire receiver circuit without resorting to an outboard audio amplifier.  It was also a perfect fit in the old cabinet.

I proceeded to lay out the parts and mark locations on the new chassis.  Once again, I was met with another obstacle.  Continue reading …..

Older posts Newer posts

© 2024 NO3M

Theme by Anders NorenUp ↑