Chassis – Prep and Paint
As mentioned in Post #1, I found a nice Bud aluminum chassis (17x8x2) at a local hamfest. I laid out and marked the positions of the tubes, transformers, RF coil sockets, crystal filter unit, etc. However, there was not enough room to fit the 2A5/42 audio output tube (or it’s output transformer for that matter)! I conceded to the idea that I would have to build the audio output circuit on a separate chassis.
But luck once again came to the rescue. While visiting a local “junk” dealer to acquire some tubes and Hammarlund coil forms, I found a larger NOS Bud aluminum chassis (17x10x3) and an old receiver cabinet amongst the piles of vintage goods. This new chassis would be more than sufficiently sized to accommodate the entire receiver circuit without resorting to an outboard audio amplifier. It was also a perfect fit in the old cabinet.
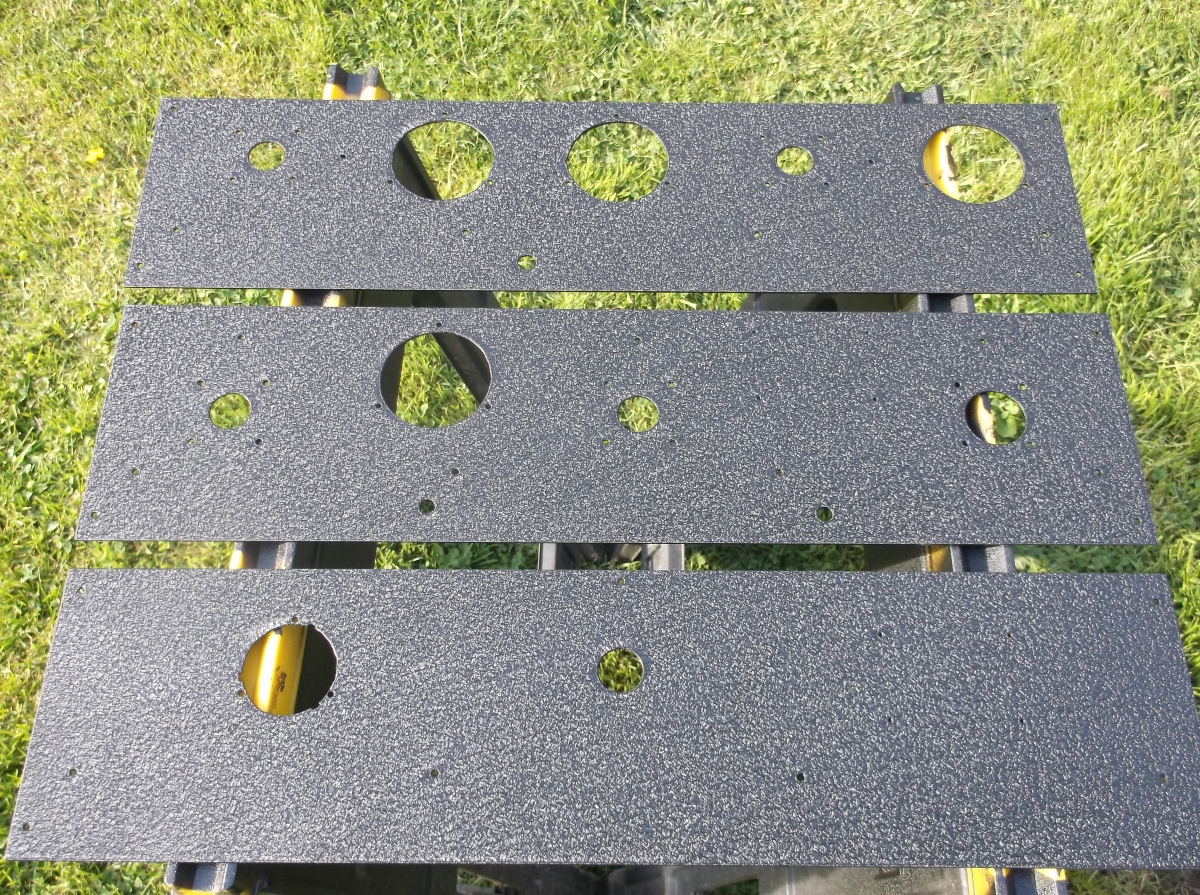
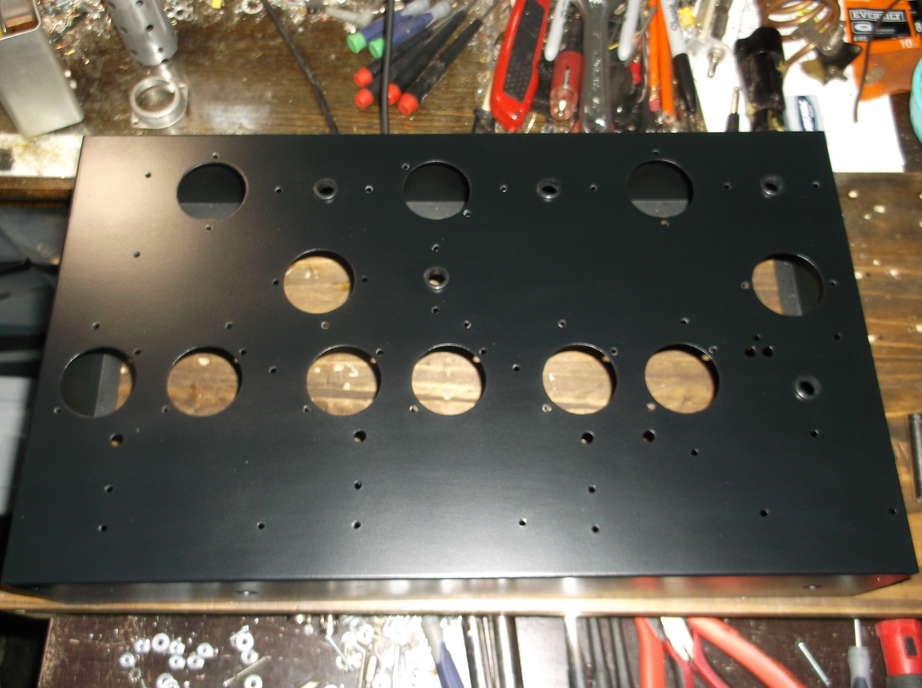
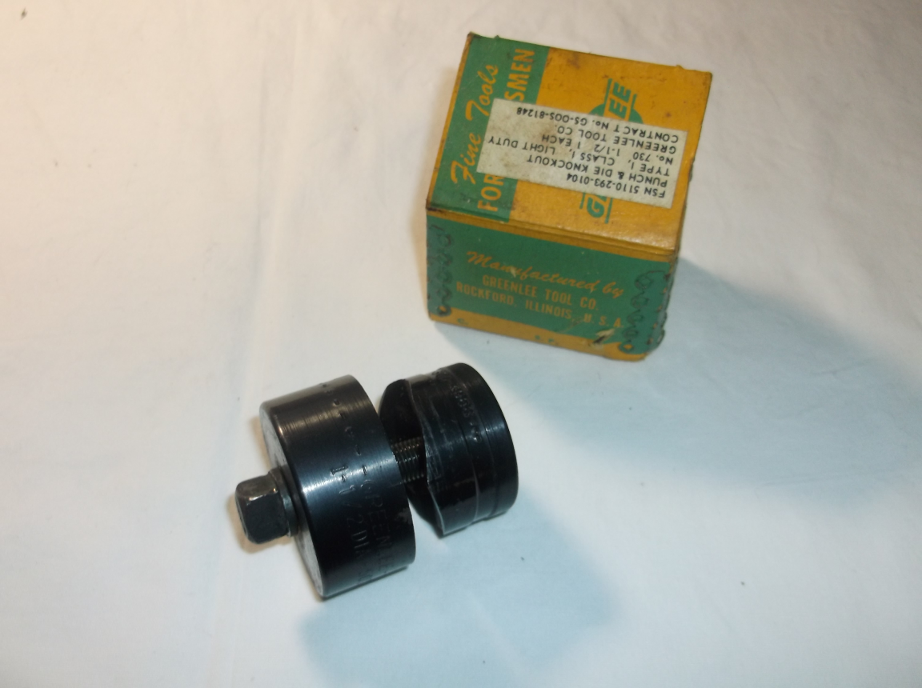
I proceeded to lay out the parts and mark locations on the new chassis. Once again, I was met with another obstacle. The tube sockets I had for the project are National ceramics, requiring a 1-1/2 in. mounting hole. These are the same sockets used in the SW-3 (and probably the FB-7 as well). I borrowed a set of conduit punches from a local Ham friend, but the punch sizes in the set were either too small or large. I decided to get a Greenlee 1-1/2 in. Radio Chassis punch and found a decent deal on a NOS set from Ebay:
The punch set really made the job of knocking out holes for the tube and coil sockets easy! The following gallery shows the chassis and the final hole being punched for the audio output tube socket.
The next order of business with the chassis was to start painting. I like the stain black finish on the inside of my National SW-3, so I picked up a can of satin Black Valspar (primer + paint) from the local Lowes. I also cleaned up and painted the crystal filter unit. Both turned out pretty nice: