Power Cable, Cabinet, Front Panel…
Power Cable
I was able to procure a vintage brown cloth covered, 6-conductor power cable. Two(2) of the conductors are #14, adequate for the filament current if I decide to use 2.5V tubes (approx 11A including dial lamps). Only two of the smaller gauge conductors will be used for B+ and B- (ground). The cable is fed through a hole with rubber grommet in the rear and held in place with a metal cable clamp inside the chassis.
Cabinet and Front panel painting
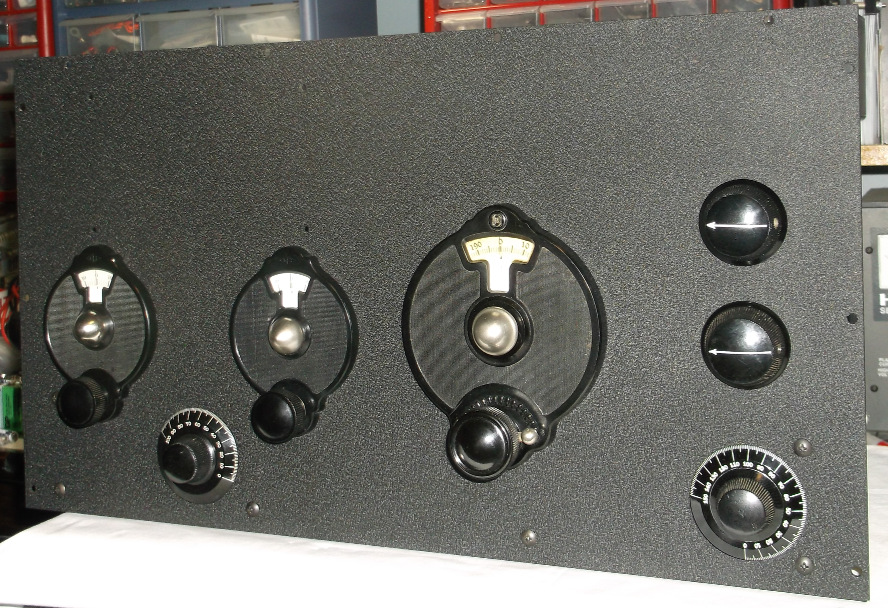
Wrinkle was a popular finish for exterior metal panels in the 1930s (and up through the late 1950s / early 1960s). There are a few products available to homebrewers to replicate a wrinkle finish, but after doing much reading on the subject, I decided to use black VHT Wrinkle Plus (#201). It is available in just about any automotive parts store for around $10. There are numerous tips on how to use this stuff, but it ultimately comes down to trying it out on some scrap pieces to determine what finish is desired. Basically there are a couple factors that effect the resulting wrinkle, 1) more heat will create tighter / smaller wrinkles, 2) a thicker film of paint will create larger / deeper wrinkles. Once a couple tests are done and resulting wrinkle observed, the heat and spray thickness conditions for the actual panels can be adjusted per the above. I found it best to pre-heat the front-panel in the sun for a short time just prior to spraying to make the wrinkles a little tighter and textured, but the cabinet was done completely in the shade to get heavier / deeper wrinkles. I ended up stripping the front panel a couple times until I got what I wanted, as even a moderate difference in spray thickness between areas on the panel will result in different wrinkle characteristics. The final results ended up being very good and quite authentic looking:
The front panel was cured at 200 deg. F for 1 hour per the product instructions. Afterwards, it was secured to the chassis with #6-32 5/16 in. black oxide truss head screws. National B (larger) and BM (smaller) tuning dials, National lamp holders (interior), BFO capacitor, RF gain potentiometer, and knobs were secured to the front panel. A calibration chart frame will be added later to provide a reference for frequency vs. dial marker tuning.


